Step 1. Sign into the backup portal
Open your web browser and go to the following address: https://shield-cloud.nexetic.com/
Select Sign in with Microsoft 365. Insert your Microsoft 365 admin credentials for the tenant you want to restore data from.
Resellers can also sign in via Nexetic Portal.
Step 2. Select Backup for Entra ID
Click the icon in the top-left corner of the page and select Backup for Entra ID.
Step 3. Select the Users page
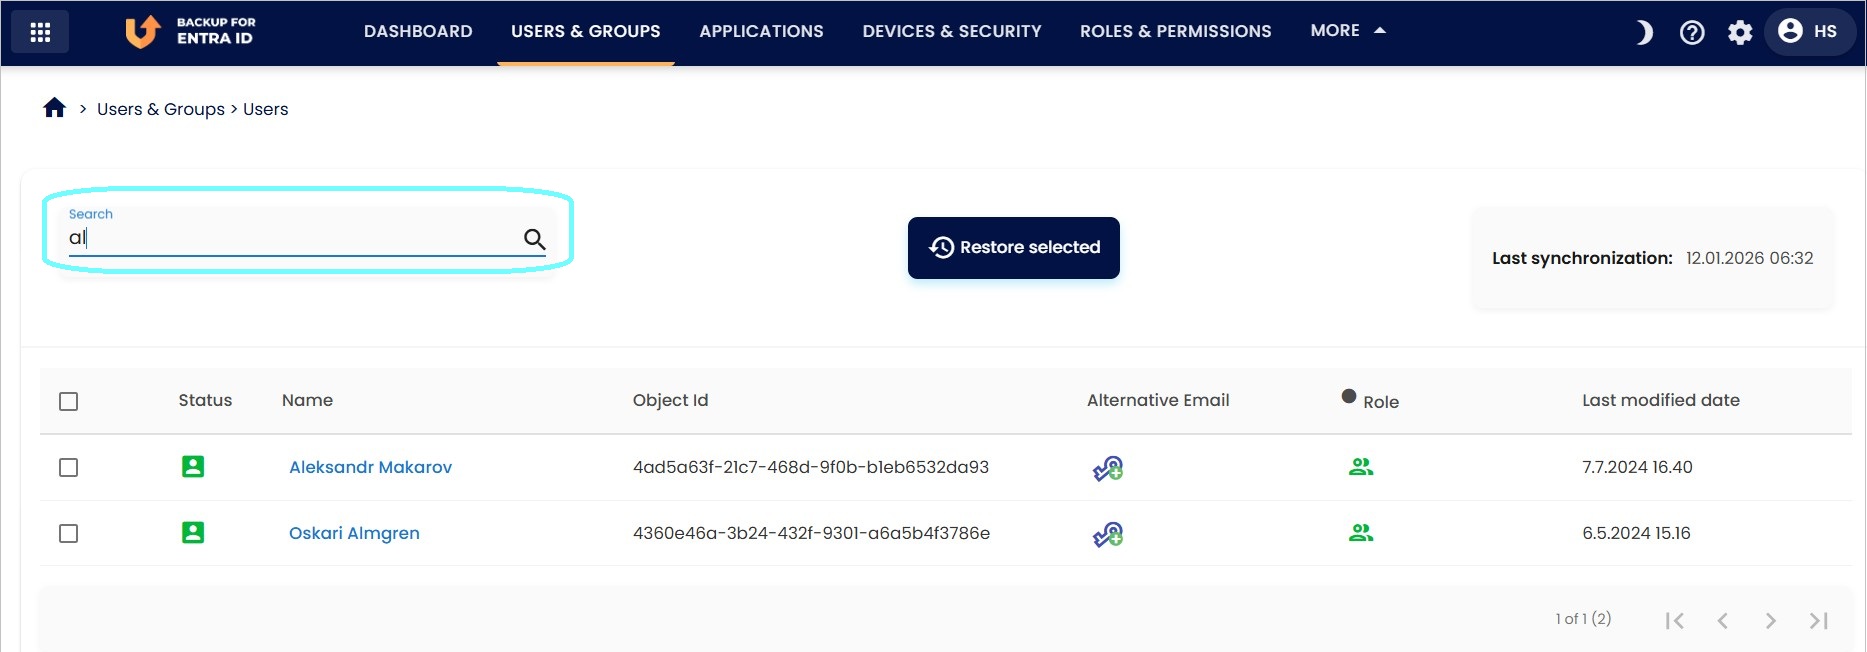
Click Users under Users & Groups in the top navigation. You can see the list of all user accounts that have been backed up from the Entra ID tenant.
Step 4. Locate the user(s)
You can sort the users by their Name, Object id or Last modification date. You can also filter the users by typing any part of the user's name or Object Id in the Search box.
Step 5. Select what to restore
You can restore all users, selected users, or a single user by checking the corresponding boxes. After selecting the users you want to restore, choose Restore selected.
Example: Select all users
Next proceed to Step 7 of this support article to see how to select the restore options.
Step 6. (Optional) View user details and versions
You can view all user details by clicking the username. You can also compare object versions across different dates. The latest version appears by default; use the arrows to browse earlier versions. Red text highlights values that changed from the previous version.
You can also open View memberships, View role assignments, and View authentication methods to see the user’s groups, roles, and authentication details. Each view lets you browse versions by selecting a Snapshot date. Empty lists mean the user had no entries at that time. Relevant logs help you identify when changes occurred. When you’ve identified the correct version, you can restore the object by selecting Restore this version.
Step 7. Select restore options
Select the snapshot date and time from the calendar. You can change it even if you selected a version earlier.
Choose your restore options:
-
With object – restores the object with its details, name, and Object ID.
- If the user doesn’t exist, it is recreated.
- If it exists, it is overwritten.
- If you don’t select this, you can still restore memberships and role assignments to the existing user.
-
As new – creates a new user with a new Object ID (you must enter a name).
- Not available when restoring multiple users.
- Block sign-in - restores the user as disabled.
- With memberships – restores group memberships.
- With role assignments – restores admin roles.
- With authentication methods - restores the user’s authentication‑method metadata (which methods were registered, such as password, Microsoft Authenticator, FIDO2 keys, or phone numbers). Actual secrets are not restored.
-
To another tenant – restore to a previously added target tenant.
- Select the tenant and then choose the domain under With domain (e.g., restoring to nexeticbackup.onmicrosoft.com creates users with that domain)
- More detailed instructions can be found from here.
Once you have selected the options, start the restoration by clicking Restore.
Step 8. Reset users' passwords
Passwords, private keys, and MFA secrets aren’t backed up or restored due to Microsoft restrictions. After restore, an admin must reset the user’s password, and the user must re‑register MFA during sign‑in.